
Smartphone Photography Guide for iPhone and iPad Users focuses on improve composition, exposure, focus, lens choice, stability and editing on Apple mobile devices. The aim is to keep the useful depth of the original article while helping readers reach a current, practical decision faster.
Quick Verdict
- Best for: iPhone and iPad users who want better photos without extra camera gear.
- Focus on: light, composition, lens selection, exposure, stabilization and restrained editing.
- Watch for: software can improve a photo, but it cannot fully recover detail never captured.
Smartphone cameras have revolutionized how we capture memories. In fact, recent data shows smartphones account for over 90% of all photos taken worldwide greatbigphotographyworld.com photoaid.com. With the latest iPhones and iPads, almost anyone can shoot stunning, high-quality images without a bulky DSLR. This guide dives deep into the best tips and techniques for iPhone and iPad photography, from understanding your device’s camera features to mastering composition, lighting, editing, and sharing. We’ll use real stats and examples to help you take your mobile photos from “snapshots” to showstoppers.

Table of contents
Why Smartphone Photography Matters
This ubiquity makes mastering your smartphone’s camera more important than ever. Recent surveys find that 86% of buyers consider camera quality when choosing a new smartphone passport-photo.online. Leading models like the iPhone 16/17 series now sport 48-megapixel “Fusion” sensors, advanced night modes, and multiple lenses, effectively rivaling many pro cameras macrumors.com t-mobile.com. Meanwhile, iPads (especially Pro models) include high-quality lenses and LiDAR scanners, making them useful for wide shots and editing. No matter what Apple device you own, understanding its camera system will let you capture life’s moments with clarity and creativity.
Stats at a glance: Smartphone cameras dominate photography. Over 1.8–2 trillion photos are taken on phones each year (about 5–6 billion per day). Americans take roughly 20 photos per day, and 92 million selfies are snapped daily worldwide. Notably, nearly half of U.S. users (43%) edit photos before sharing. These facts underscore that learning phone photography is not just a novelty – it’s how we document and share our lives.
Understanding Your iPhone and iPad Cameras
iPhone Camera Features
The iPhone camera app also offers powerful built-in tools. You can swipe between modes like Photo, Video, Cinematic, Portrait, and Pano support.apple.com. iPhones feature Smart HDR and Photographic Styles – customizable presets that adjust colors and tones in real time. On iPhone 16 and newer, a new Camera Control (shutter-like) button allows quick access to camera launch, zoom and exposure settings. And for fast shooting, iPhones support Burst mode (swipe or hold the shutter) to capture action shots and Time-lapse/Slo-mo for video creativity.
In practice: to take a photo on iPhone, open the Camera and tap the shutter or press a volume button. You can zoom by tapping the 0.5×, 1×, 2× icons or pinching the screen. Tap and hold on the screen to lock focus/exposure or swipe to start burst mode. Portrait mode automatically blurs background for people shots. Night mode appears in low light, letting you hand-hold up to a few seconds for bright, detailed night shots. Between its hardware and software, an iPhone is a complete camera system in your pocket.
iPad Camera Features
iPads (especially recent Pro and Air models) also have capable cameras, though their form factor makes them less convenient for photos. iPad Pro models (2024 M4) pack a 12MP wide, 10MP ultra-wide, and LiDAR sensor for depth. Even smaller iPads have a 12MP rear camera and front-facing TrueDepth camera. The iPad’s Camera app works much like the iPhone’s. You can take photos and videos, switch modes, use Portrait (on front camera), Pano, and even square format. The iPad supports timer and burst shots too. For example, you can set a 3s/10s timer or burst many shots by holding the shutter button support.apple.com. The iPad Pro’s True Tone Flash helps in darker scenes.
That said, the main strength of an iPad in photography is screen size. The large display makes it easier to frame shots at odd angles (e.g. laying it flat to shoot over a table) and provides more room for editing. Many users transfer iPhone photos to iPad to retouch them with Apple Pencil or Lightroom for precision. The iPad’s edit-and-share workflow (iCloud, AirDrop) is seamless. In a pinch, you can definitely snap good pics with an iPad – all the compositional tips still apply – but iPhones, with their compact size and extra lenses, remain the go-to camera.
Pro Tip: On both devices, keep your lens clean! Dirt or fingerprints on the lens blur every shot. Always wipe with a microfiber cloth or even a clean shirt before shooting. PetaPixel’s experts emphasize this “clean lens” trick as a simple way to noticeably sharpen your images petapixel.com.
Mastering Composition and Lighting
Even with a great camera, composition and light make the photo. Follow these guidelines to turn snapshots into professional-looking images:
- Use the Rule of Thirds. Enable the gridlines in Settings and align your subject along the lines or at intersections. According to photography experts, dividing the frame into thirds and placing key elements at those intersections makes images more balanced and compelling interaction-design.org. For example, put a horizon on the lower third line instead of center, or place your subject on a side third. This “rule of thirds” approach naturally draws the eye.
- Mind the Background. A cluttered background distracts. Look for simple, contrasting backdrops or move so only a portion of the scene (sky, wall, green grass) is visible. To emphasize a subject, keep negative space (empty area) around it. Deep space or a blurred background also makes the subject pop.
- Fill the Frame. Move closer or use a telephoto (iPhone 2×/3× zoom) to fill the frame with your subject. Cropping out unnecessary details gives photos impact. On the other hand, sometimes including more of a scene (a wide-angle) can tell a story. For landscapes, try the ultra-wide lens and include leading lines like roads or fences that guide the eye.
- Photograph at the Best Time: The golden hour – early morning or late afternoon – offers rich, soft light for dramatic color. Shadows are longer and highlights gentler than harsh midday sun. PetaPixel’s smartphone guru notes that “the best photos are taken in the early morning and in the last hour of the day”. Even a quick morning outing can yield a warm, flattering glow. Overcast days also help, producing even, diffuse light (good for portraits) without hard shadows.
- Lighting Tips: Position your iPhone so that the main light is behind you or to the side. Front-facing light (like the sun or a lamp shining on your subject’s face) prevents silhouettes and brings out facial details. Avoid pointing directly at the sun unless you want a silhouette effect (which can be artistic if done deliberately). In dim environments, use Night mode (iPhone) or keep the camera still (use a tripod or steady surface) to avoid blur. Be cautious with the built-in flash – it’s harsh and often creates red-eye or hotspots. If you need extra light, consider inexpensive LED clip-on lights or phone flashes.
Camera Settings and Techniques
Modes and Controls
Modern iPhone/iPad cameras have intuitive controls once you know where to look:
- Change Lenses/Zoom: In the Camera app, tap the 0.5×/1×/2× icons to switch among ultra-wide, wide, and telephoto (if available). On iPhone 16/17, you might see 2.5×, 3×, 4×, even 8× depending on the model. You can also pinch the preview to zoom smoothly.
- Focus and Exposure Lock: Tap the subject on screen and hold. A yellow box with “AE/AF Lock” will appear; this locks focus and exposure so they won’t shift if you recompose. Very handy for tricky light (like a bright sky behind a person). Dragging your finger up/down can also raise or lower exposure (brightness).
- Burst Mode: For fast action or unpredictable scenes (kids, pets, sports), press and hold the shutter or swipe it to the left. The camera will fire up to 25 frames per second. After stopping, you can select the best shots in the Burst group. This feature works on both rear and front cameras.
- Panorama (Pano): Choose “Pano” mode to stitch together wide landscapes. Tap the shutter and slowly sweep your device horizontally along the arrow. This is great for scenery or group shots too big to frame normally.
- Portrait Mode: Available on iPhone’s front and rear cameras, Portrait mode creates a depth-of-field effect (blurry background). Keep the subject within about 2–8 feet of the camera for best results. iPad (front camera) also has portrait mode.
- Timer: To get yourself in the shot, use the timer: tap the clock icon and choose 3s or 10s delay. The camera will flash twice and then fire. This also helps stabilize for evening shots (delay = steadier).
- Live Photos: The circular icon (Yellow if on) captures a short video clip around the shutter click. You can choose a favorite frame later. For clean stills, turn Live Photos off.
- Apple ProRAW / ProRes: On Pro iPhone models, Apple offers ProRAW photo capture (uncompressed image data) and ProRes for video, which give maximum editing flexibility. These modes use more storage but are invaluable for pro editing. Enable them under Camera settings if you want raw image files.
Tip: On newer iPhones, the Camera Control button (a small shutter icon on the side) can be pressed halfway to focus and expose, just like a real DSLR shutter. You can even customize a double-press to launch the camera quickly. Explore Settings → Camera to enable such shortcuts.
Focus, Exposure, and Composition Aids
- Histogram: Some third-party camera apps (or Halide on iPhone) offer a histogram to show exposure distribution. It helps avoid clipping highlights/shadows. This is more advanced, but worth trying if you want precision.
- Histogram & Level: The iPhone camera automatically keeps horizons straight, but you can enable a level overlay in some apps to ensure your shot is not tilted. Many third-party apps (like ProCamera) have built-in leveling guides.
Editing on iPhone and iPad
Shooting is just half the process. Editing (often on the same device) makes photos pop:
- Built-In Tools (Apple Photos): iOS Photos app has powerful edit tools: you can crop, straighten, adjust brightness/contrast, and apply filters. The “Auto” function often does a good job automatically. Highlights and Shadows sliders can recover detail.
- Photographic Styles: On iPhone 16/17 and iOS 18+, you can set a Photographic Style before shooting. These are like filters you can adjust in real time (for warm/cool tones, vibrance, etc). Choose a style (e.g. “Rich Contrast”, “Vivid”, “Warm”, “Cool”) to get a consistent look.
- Retouch and Erase: iOS includes simple Blemish Removal – tap Edit → … → Retouch to brush out spots or dust. iOS 16+ on some models even has “Object Eraser” to remove larger distractions with AI. For anything more advanced, see apps below.
- Top Editing Apps: Many photographers use apps like Adobe Lightroom Mobile (free, professional controls), Snapseed (free by Google, great for selective edits), VSCO, and Affinity Photo. AI-powered apps like Remini (the #1 photo enhancer app, 4.5M+ downloads) or Photoshop Express are popular for quick fixes. Canva (second most downloaded) offers filters and social templates.
- Organizing and Backup: To avoid losing shots, use cloud backup. Apple’s iCloud Photos can automatically sync your images across iPhone, iPad, Mac, and store high-res originals online. Google Photos is another option for unlimited (or high-cap) backup. The average user has over 2,700 photos in their camera roll, so cloud sync is crucial.
Real-world example: The #ShotoniPhone campaign by Apple showcases how far smartphone photography has come – amateurs and pros alike share breath-taking iPhone photos on social media. These images often rely heavily on mobile editing apps and techniques. As one photographer notes, “No photo leaves my phone that hasn’t been ‘developed’ in a photo app”.
Sharing Your Photos
Once edited, share away! Smartphones dominate social sharing: roughly 6.9 billion images are sent on WhatsApp daily, and 3.8B on Snapchat. Instagram and Facebook are also huge platforms for your shots. When posting, use relevant hashtags (e.g. #ShotoniPhone, #mobilephotography, #iPadography) to join communities. You can share directly from Photos to social apps or use AirDrop to transfer to a friend or your computer.
A tip: Save storage by deleting unwanted photos. Many people keep thousands of blurry or redundant shots. Regularly go through bursts and discard duplicates to keep your library manageable. Consider using Google Photos’ built-in suggestions or apps that find and remove similar images.
Smartphone Photography Tips and Accessories

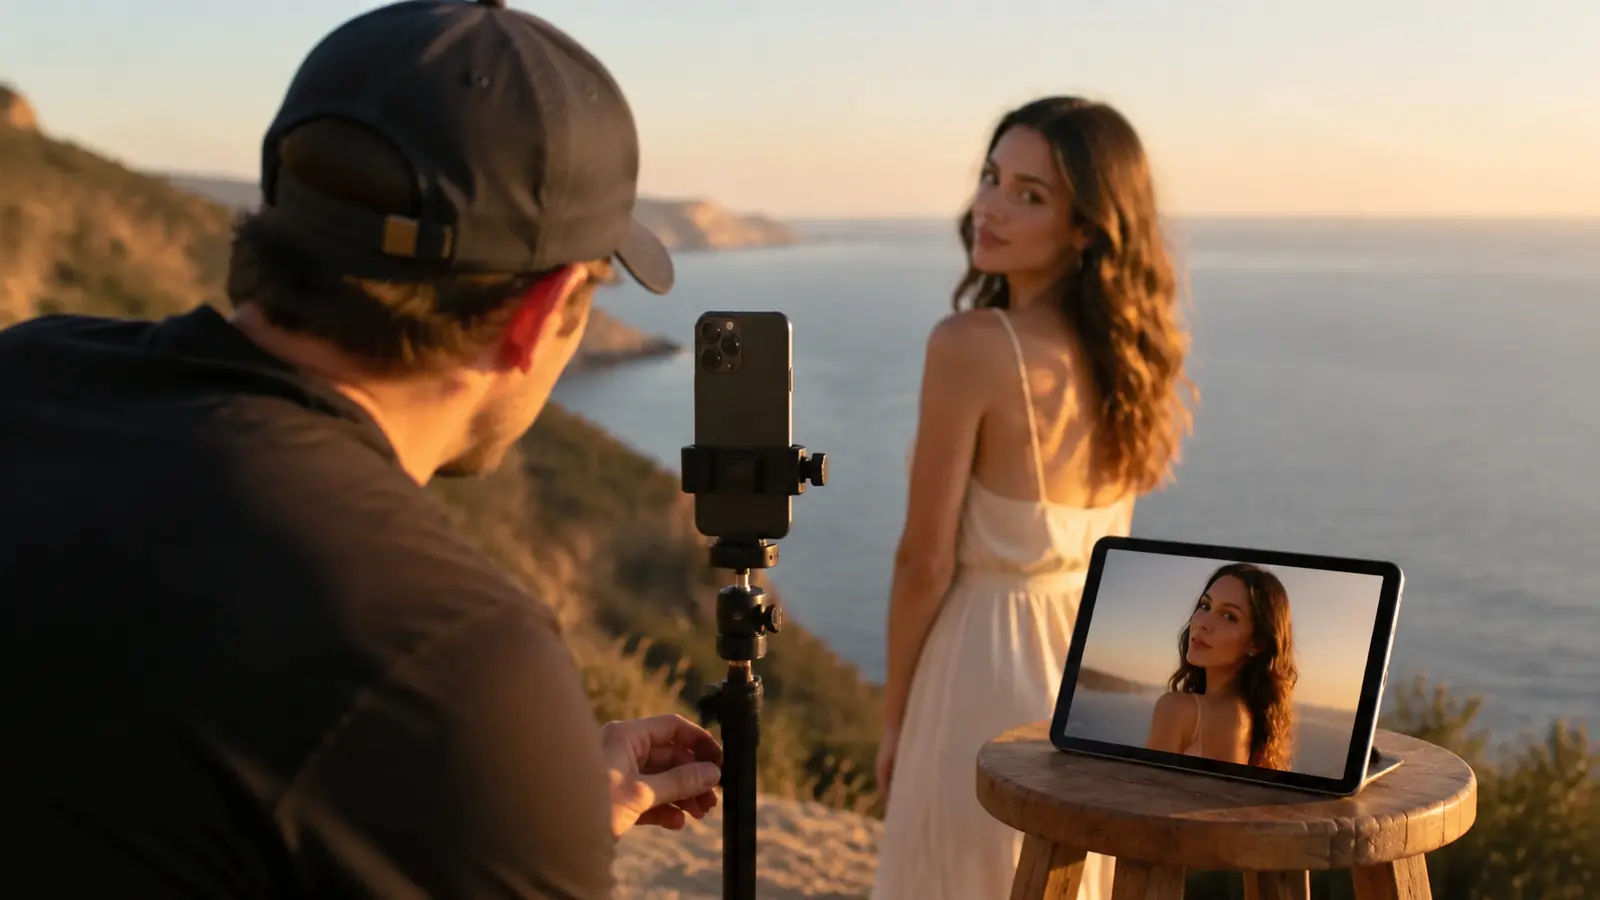
- Hold Steady: Shake is the enemy of sharp photos. Brace your arms against your body, hold the phone with both hands, or lean on a wall. For the sharpest night shots, use a tripod or propping device. Affordable tripods and selfie-sticks that support phones can pay off in crisper images.
- Avoid Digital Zoom: Digital zoom on smartphones simply crops and enlarges the image, losing detail. Instead, if you need to zoom, either move physically closer or use the iPhone’s optical zoom (2×, 3×, 5×, etc) which maintains full resolution.
- Use a Lens Attachment: Companies like Moment and Sirui make clip-on lenses (macro, wide-angle, telephoto) for iPhones and iPads. These glass lenses can dramatically expand your creativity (for example, shooting tiny subjects with macro). Remember to attach carefully and cover your phone case if needed.
- Lighting Accessories: An external LED light or flash can make indoor night shots much better. Ring lights or clip-on flash units (some even with color filters) can add professional lighting for portraits. The iPad Smart Keyboard doubles as a handy reflector if you propped up your iPad for a selfie or shoot!
- Remote Shutter: To eliminate any shake from pressing the button, consider a small Bluetooth remote shutter (often used with tripods). Alternatively, use the volume button on wired headphones as a shutter (it works in most camera apps).
Each of these tips, though small, can noticeably improve your shots. As PetaPixel advises, treat your smartphone “like a pro camera” – that means planning your shots, controlling light, and stabilizing the device.
Conclusion
Smartphone photography has never been more capable. By understanding your iPhone/iPad camera’s features and applying good photography principles, you can capture truly stunning images. Quick recap: Always clean your lens, compose using the rule of thirds, shoot in good light (ideally golden hour or evenly overcast conditions), and keep the camera steady. Learn to use your phone’s modes (portrait, pano, night mode) and zoom carefully with its optical lenses. After shooting, edit with powerful apps or built-in tools to make colors pop. With practice and experimentation, you’ll find everyday moments – from travel sights to home gatherings – become creative photo opportunities.
Embrace the fact that your best camera is the one in your pocket. As technology advances, smartphones continue to push the boundaries of photography. The latest iPhones (with 48MP sensors, AI editing, and long-range zooms) show that mobile cameras can be as advanced as dedicated ones. Keep learning and experimenting, and soon you’ll be ready to craft professional-quality images using just your iPhone or iPad.
For more tech tips and reviews on smartphones and gadgets, check our Smart Gadgets and Smartphones & Mobile Technology category.
Frequently Asked Questions (FAQs)
Can I really shoot professional photos with an iPhone or iPad?
What iPhone model has the best camera?
How do I improve low-light photos on my iPhone?
Are iPad cameras as good as iPhones?
What are Photographic Styles and how do I use them?
Which apps should I use to edit iPhone photos?
How can I back up all my phone photos safely?
Does it really make a difference to use a tripod or external lens?
Yes. A tripod or stabilizer eliminates blur from hand shake, especially in low light or long exposures. Even a small desk tripod or a GorillaPod can vastly improve sharpness. External lenses (like macro or wide-angle clips) let your phone do things it normally can’t: a macro lens captures tiny details (like a flower’s pollen), and a high-quality wide lens corrects distortion better than the iPhone’s built-in ultra-wide. These accessories aren’t mandatory, but for enthusiasts, they extend creative possibilities.
I’m new to photography – where should I start?
Can I remove objects or backgrounds from my iPhone photos?
Yes, recent iOS versions have powerful tools. For simple edits, open a photo in Photos, choose Edit, then Retouch to brush out blemishes or small objects. On iPhone 15 Pro and newer (iOS 16+), an “Object Removal” AI tool lets you tap on a person or item and remove it, filling in the background automatically. Additionally, you can press and hold on a subject (like a person or pet) in a photo to isolate and copy it. Third-party apps like TouchRetouch also specialize in removing larger objects or even selecting the sky to replace it. These tools make it possible to fix many common issues without needing a desktop.
Where can I learn more tips about photography gear and smartphones?
Check out photography blogs and YouTube channels that focus on mobile photography. The iPhone Photography School (at ) has tutorials. Tech sites like MacRumors and Petapixel often review new cameras and phone features. And of course, our own FrediTech blog covers the latest gadgets, including smartphones and camera accessories. The key is to learn by doing – take lots of photos, study what you like, and don’t be afraid to try different apps and settings.
Author: FrediTech Editorial Team led by Wiredu Fred – Tech and Photography Experts with years of experience helping users capture amazing smartphone photos.
Bottom Line
The strongest takeaway is to improve composition, exposure, focus, lens choice, stability and editing on Apple mobile devices. Use the article as a decision framework, verify model- or service-specific details before acting, and give more weight to current support, condition and real-world fit than to old launch-day marketing.