
The most expensive-looking bathroom can still be frustrating when the floor becomes slippery, the mirror stays fogged, a slow leak goes unnoticed or the only light is painfully bright at 2 a.m. A display in the mirror does not solve any of those problems.
The best smart bathroom ideas for 2026 begin with water, electricity, ventilation and movement—the systems that determine whether the room is safe and comfortable. Connected sensors and automatic controls come later, only where they catch a problem early or make a repeated routine easier.
Research checked: August 27, 2026. Plumbing and electrical rules vary by location. Use appropriately licensed professionals for fixed wiring, water-heater work, structural grab-bar installation and plumbing changes beyond your competence.
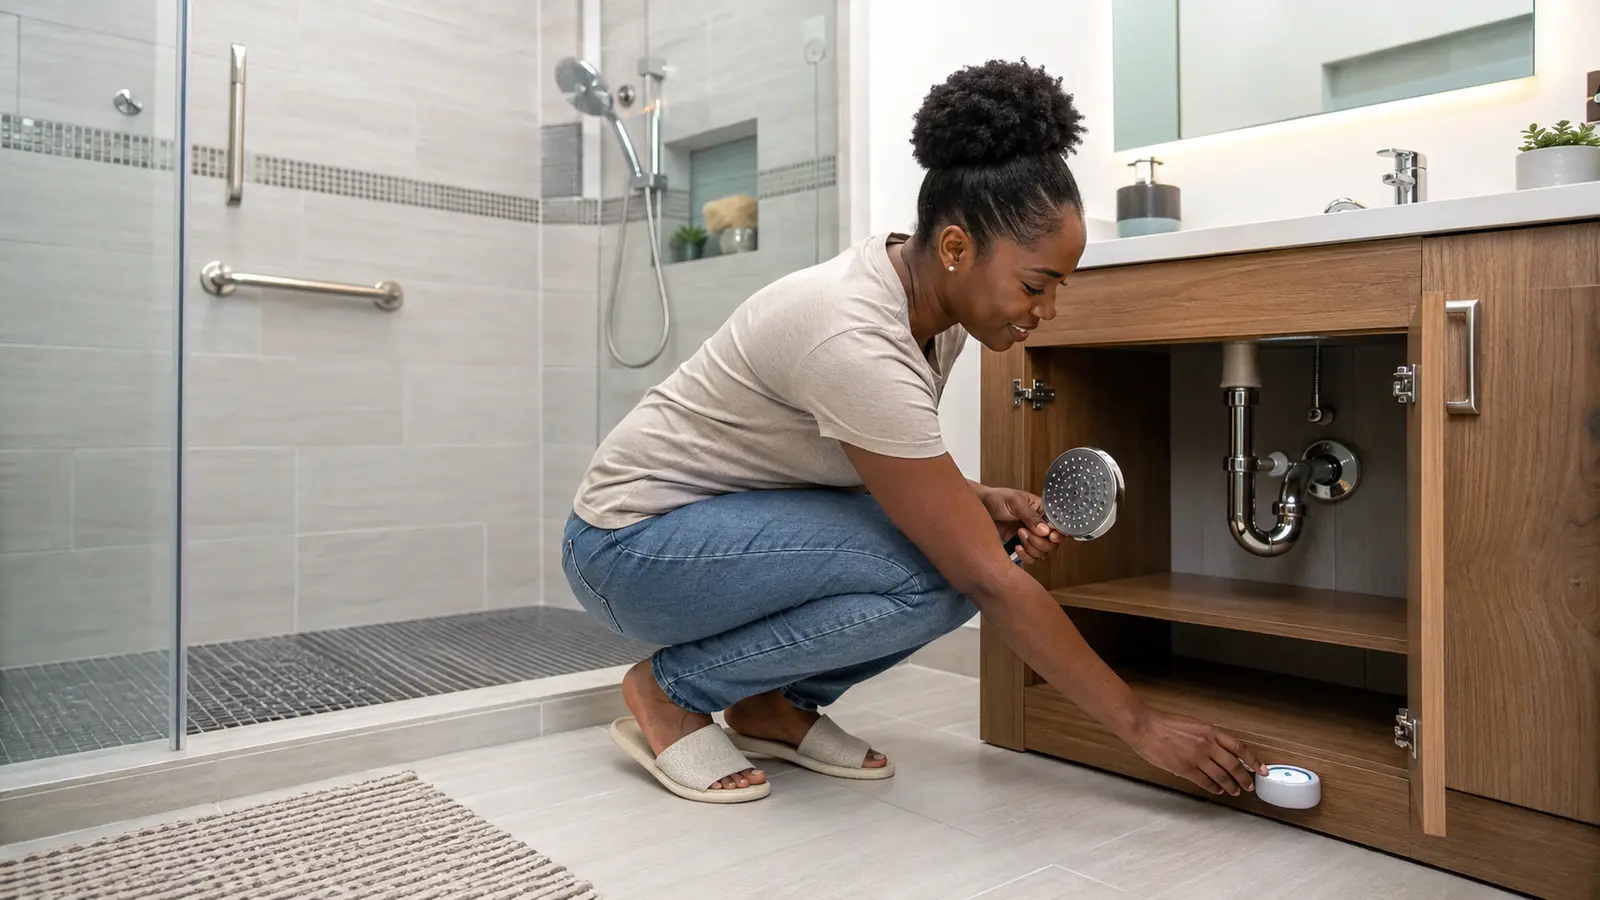
Table of contents
The smartest bathroom upgrade order
Prioritize non-slip movement and secure support → safe electrical protection → effective ventilation → clear layered lighting → leak detection → efficient fixtures → optional automation. A bathroom should continue to provide light, water control and safe access when the internet is unavailable. Never place ordinary plugs, speakers or chargers near water simply to add convenience.
Audit the wet room before choosing products
Inspect the bathroom immediately after the busiest shower of the day. Look for pooled water, a slow drain, condensation on walls, loose fittings, dark grout, damp cabinets and towels that remain wet for hours. Test whether the fan actually draws air, whether the window can open securely and whether the main light reaches the shower, vanity and floor. Check the route from bedroom to bathroom at night without switching on every ceiling light.
Next, draw the room and mark the shower or bath, toilet, basin, water heater, door swing, sockets, switches and storage. This separates wet and dry activities and prevents a new cabinet from narrowing the entrance or a towel rail from becoming an unsafe substitute for a grab bar. Photograph shutoff valves and record which circuit serves the room. If you cannot identify them, ask a qualified professional before an emergency does it for you.
Five upgrades for safer movement and clearer light
1Improve grip and drainage
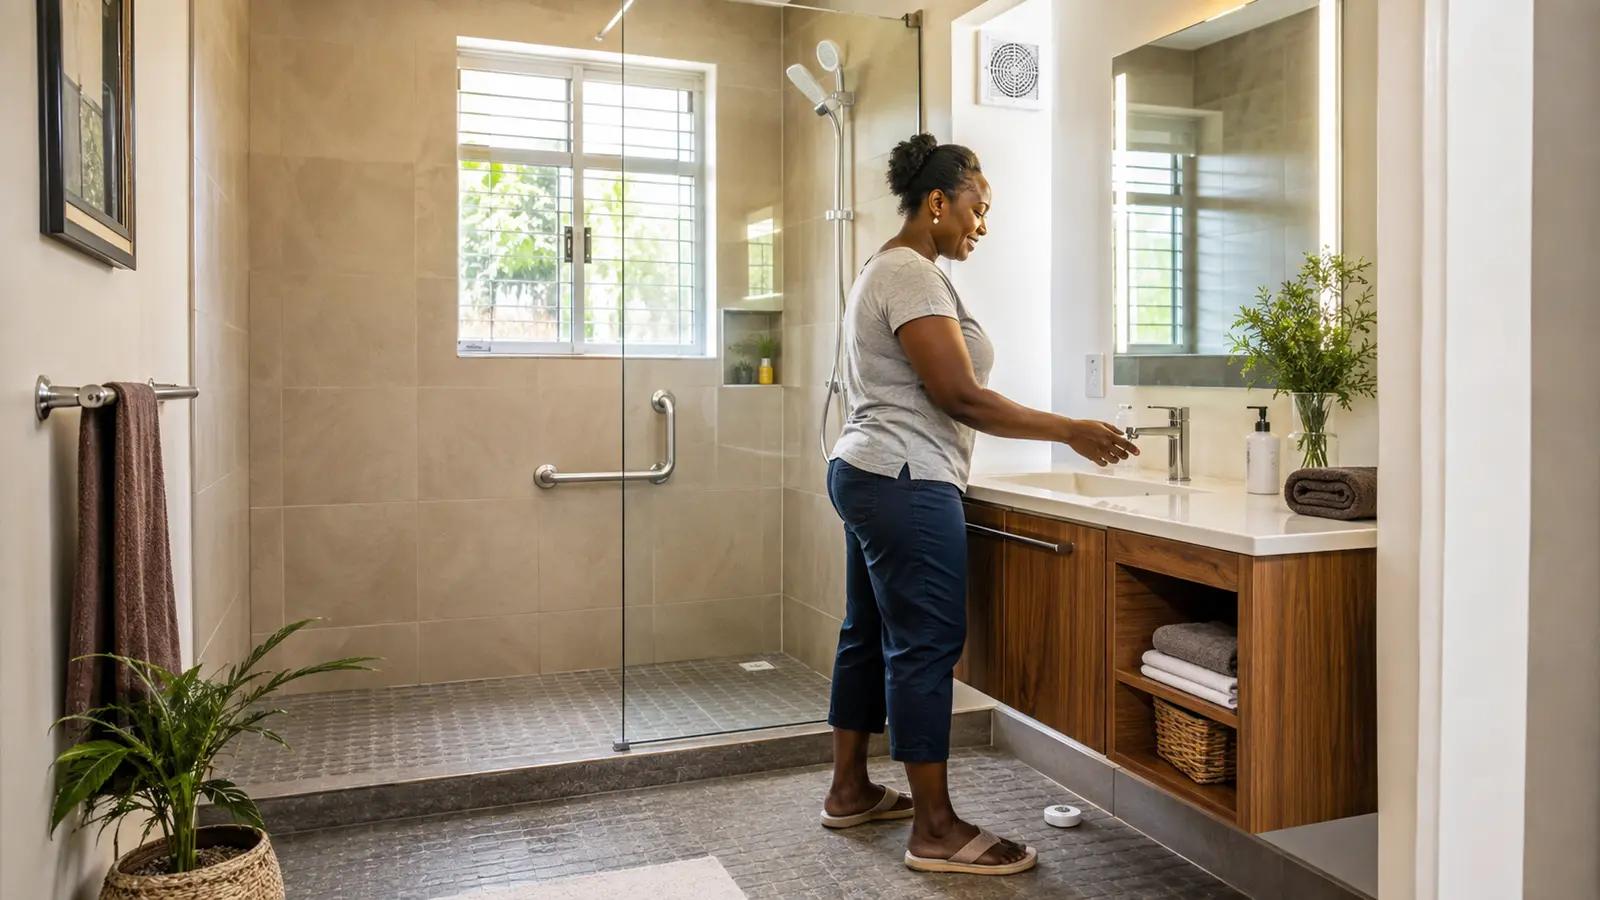
Repair leaks and drainage problems before covering them with a mat. Use properly installed non-slip strips or a stable bathroom mat intended for wet surfaces, then hang it to dry so moisture is not trapped underneath. Avoid small loose rugs at the doorway. Keep soap, shampoo and cleaning products off the shower floor, and make sure the drain can be reached for maintenance without removing permanent furniture.
2Install real grab bars where support is needed
The National Institute on Aging recommends grab bars near the toilet and in the bath or shower, plus non-slip surfaces. A towel bar is not designed to support body weight. Proper placement depends on the user and wall construction, so use suitable backing, fixings and professional installation. Contrasting color can make the bar easier to locate. Do not wait for a fall before discussing mobility needs with the person who uses the room.
3Keep everyday storage within easy reach
Place frequently used items between comfortable knee and shoulder height. Store heavy bottles low enough to lift safely but not on the walking path. A recessed niche or stable caddy is better than reaching to a high shelf on a wet floor. Separate medicines, cosmetics and cleaning chemicals according to their instructions and household risks; humidity and heat may make a bathroom unsuitable for some products. Child-resistant storage should not create an impossible barrier for an adult with limited hand strength.
4Layer general, mirror and shower lighting
Use even general light for the floor, vertical light near the mirror for faces and grooming, and a suitably rated fixture for the shower area where required. Strong light from one point above the head creates shadows; two diffused sources around the vanity are often clearer. Choose sealed or location-rated fittings appropriate to the installation zone. Match color appearance across fixtures and use efficient LEDs, but verify dimmer compatibility to avoid flicker.
5Add a low night path with a manual override
A dim light under the vanity or near the entrance can reveal the floor without switching on the brightest fixture. Aim a motion sensor at the doorway rather than the shower, set a short timeout and make sure it cannot leave someone in darkness while the room is occupied. A switch should remain easy to find. The route outside the bathroom also needs clear floors, secure rugs and adequate light; one smart strip cannot correct a hazardous hallway.
Six ideas for moisture, water use and early warning
6Make ventilation respond to real use
Clean the fan grille and confirm air is exhausted to an appropriate exterior location rather than into a ceiling void. A timer or humidity-sensing control can keep the fan running after a shower without requiring someone to remember it. The sensor should be positioned and calibrated according to its instructions; a unit beside the shower may react differently from one at the door. Open windows only when outdoor conditions and security make that sensible. For persistent damp or visible mold, correct the moisture source rather than adding fragrance.
7Use humidity readings as a maintenance clue
A simple display can show whether moisture falls after bathing and whether ventilation changes are working. Compare the pattern before, during and after a shower over several days. Do not treat a low-cost sensor as a precision instrument or medical monitor. If readings remain high, surfaces stay wet or paint deteriorates, investigate fan capacity, ducting, leaks and outdoor humidity. The broader FrediTech indoor-air guide explains source control, moisture and filtration.
8Place leak sensors at likely failure points
Small battery sensors can alert at the vanity cabinet, toilet connection, water heater or washing machine if one is in the room. Put the sensing contacts on the lowest surface where water would first collect, not on a shelf above the plumbing. Test with a damp cloth as the manufacturer permits, confirm the alarm is audible without a phone and replace batteries on schedule. A sensor reports water; it does not repair a failed seal or blocked drain.
9Consider automatic shutoff for high-consequence leaks
A shutoff valve can limit damage when a compatible sensor detects continuous flow or pooled water. Installation, pipe size, pressure, manual operation and power backup matter more than the app design. Ask what happens during a power outage, whether the valve can be opened by hand and how the system distinguishes a long shower from a burst pipe. A qualified plumber should assess fixed installations, especially in shared buildings where one valve may affect other occupants.
10Choose a water-efficient showerhead that still performs
The EPA WaterSense program identifies independently certified showerheads intended to use less water while meeting performance requirements. Outside the United States, look for the relevant local efficiency label and flow rating. Before buying, check household water pressure, heater capacity, thread size and whether a handheld hose improves access. A very low flow that causes longer showers or poor heater operation may not deliver the expected result.
11Reduce basin and toilet waste without impairing function
A suitable faucet aerator is an inexpensive first step, but clean debris from the fitting and confirm the reduced flow is still practical. Repair dripping taps and running toilets promptly. When replacement is necessary, compare verified efficiency and flushing performance rather than choosing by tank appearance. EPA says WaterSense-labeled bathroom faucets use no more than 1.5 gallons per minute in its market; other regions use different units and standards. Track your actual bill or meter because household savings depend on use and local prices.
Four connected upgrades to approach carefully
12Control hot water safely
Temperature limits, thermostatic mixing and water-heater schedules can improve comfort or reduce unnecessary heating, but scald prevention and hygiene take priority. Do not lower storage temperatures, change heater wiring or alter gas equipment based only on an app recommendation. Follow manufacturer and public-health guidance for the specific system, and use qualified trades. At the fixture, a clear temperature indicator can help with consistency, but it is not a substitute for a correctly installed mixing valve.
13Protect bathroom electrical circuits properly
The U.S. Consumer Product Safety Commission recommends ground-fault protection for bathroom outlets; other countries use terms such as RCD or RCBO and have their own rules. Test protective devices as instructed and have faults investigated. Never daisy-chain extension leads, run chargers across a wet counter or use an ordinary portable heater in the bathroom. Fixed fans, mirrors, lights and outlets must have appropriate location ratings and installation. Electricity is not an area for a DIY shortcut.
14Use touch-free controls where they solve a real access problem
A sensor faucet, soap dispenser, voice command or occupancy light can help when hands are soapy or mobility is limited. It can also waste water or become frustrating when sensing is poorly adjusted. Check battery access, manual operation and cleaning requirements. In a shared bathroom, controls should be obvious to a visitor without an app. Avoid voice-only water control, and never let a connected routine fill a bath or run a shower unattended.
15Keep private rooms private and serviceable
A bathroom does not need a camera. Leak, door, humidity and occupancy sensors can usually provide useful automation without recording images or speech. If a speaker or connected mirror is installed, review microphones, account access, update support and data deletion. Choose devices that remain useful as ordinary mirrors, lights or fans when cloud features end. Use unique passwords and updates, and remove old users when household access changes.
What should not be automated in a bathroom?
Do not automate an action whose wrong timing could burn, flood, trap or frighten someone. That includes filling a bath unattended, starting a shower remotely, changing stored-water temperatures casually, locking an occupied door, switching off an essential light on a short timer or cutting power to medical and accessibility equipment. A notification can be smarter than an automatic action when the system does not have enough context.
Be equally cautious with “wellness” products that present consumer measurements as diagnoses. A scale, skin scanner or mirror may show trends, but accuracy, user profiles and data handling vary. Do not alter medication, hydration or treatment based solely on a bathroom device. Decide who can see each person’s readings, turn off unnecessary cloud sharing and delete data before selling or discarding the product.
Finally, avoid automations that hide maintenance. A fragrance diffuser cannot correct sewage odor, damp or poor ventilation. A robot cleaner cannot inspect cracked sealant or a slow leak behind a cabinet. Keep a short manual check: look under the basin, listen for a running toilet, feel for loose fittings, inspect grout and test alarms. The cleverest system is the one that makes a real fault visible early and leaves the household able to respond.
Three bathroom upgrade plans by priority
| Plan | Immediate work | Next useful addition | Professional input |
|---|---|---|---|
| Low-cost maintenance reset | Repair drips, clear floor, secure mat, clean fan, improve storage and add night light | Aerator, humidity display and audible leak sensor | Any electrical damage or persistent moisture |
| Balanced renovation | Non-slip surface, layered rated lighting, efficient fixtures and effective extraction | Multiple leak sensors and timed fan control | Fixed wiring, plumbing and secure grab bars |
| Aging-in-place focus | Personal mobility assessment, clear entry, support, contrast and reachable storage | Hands-free secondary controls and dependable alerts | Occupational therapy, structural fixing and code compliance as appropriate |
Budget for valves, adapters, sealing, electrical protection, labor and future batteries—not just the visible fixture. Confirm water pressure, local voltage and warranty service before importing a product. In a rental, report leaks promptly and obtain written permission before changing plumbing, drilling tile or modifying fixed electrical systems.
Install smart bathroom upgrades in eight stages
- Document existing problems. Photograph moisture, leaks, outlets, valves and the floor after normal use.
- Stop active damage. Repair supply, drain and waterproofing failures before adding cabinets or connected sensors.
- Correct movement hazards. Improve grip, routes, support and reachable storage for the actual users.
- Verify electrical safety. Have protection, zones and fixed equipment assessed under local requirements.
- Improve ventilation and light. Establish reliable manual operation before adding timers or humidity control.
- Fit efficient water devices. Check pressure, temperature and performance after installation.
- Add and test leak detection. Confirm local alarms, phone alerts, battery warnings and valve behavior.
- Create a maintenance calendar. Include fan cleaning, sensor tests, seal inspection, battery replacement and protective-device tests.
Frequently asked questions
What is the best first smart-bathroom upgrade?
If there is an active leak, poor electrical protection or a slippery route, correct that first. For a sound bathroom, an inexpensive audible leak sensor near a likely failure point is often a practical first connected device because it provides a clear early-warning function.
Where should a bathroom leak sensor go?
Place it on the lowest dry surface where water would first arrive—often under the vanity, beside a toilet supply connection, near a water heater or outside the shower threshold. Keep it accessible for testing and away from normal splashes that would cause repeated false alarms.
Is a smart mirror worth buying?
It can be worthwhile when you consistently use integrated lighting, defogging or accessibility features and replacement support is available. A mirror with a screen, camera or subscription is harder to service. Compare it with separate lighting and a basic defogger that can be replaced independently.
Can I use a normal smart plug in a bathroom?
Do not assume so. Wet-location rules, socket protection, distance from water, enclosure rating and appliance load all matter. Follow local electrical codes and the instructions for both devices. Never use an ordinary plug adapter to control a heater or other high-load bathroom appliance.
How can renters improve a bathroom?
Report plumbing, mold and electrical defects to the responsible property party. Reversible options may include a stable non-slip mat, freestanding storage, battery leak alarms, a permitted efficient showerhead or aerator, and a plug-free night light. Obtain permission before drilling, rewiring or changing fixed plumbing.
Research sources and methodology
Recommendations were checked against official water-efficiency, fall-prevention, electrical-safety and smart-device security guidance. Products were evaluated as categories rather than ranked models, with priority given to safe installation, manual fallback, local compatibility, maintenance and measurable household value.