
Clutter rarely begins because a home has too few containers. It begins when objects enter faster than decisions are made: the delivery box stays “for now,” clean laundry has no easy destination, cables lose their devices and a useful table becomes the place where every unfinished task waits.
These home organization ideas for 2026 are designed for real households, not empty display rooms. You will reduce volume before buying storage, put everyday items near the action, build quick reset points and create an exit route for donations, repairs and responsible recycling.
Research checked: August 27, 2026. Organization should support the people who live in the home, including children, older adults and people with disabilities. Secure heavy furniture and use qualified help where structural fixing or accessibility assessment is needed.
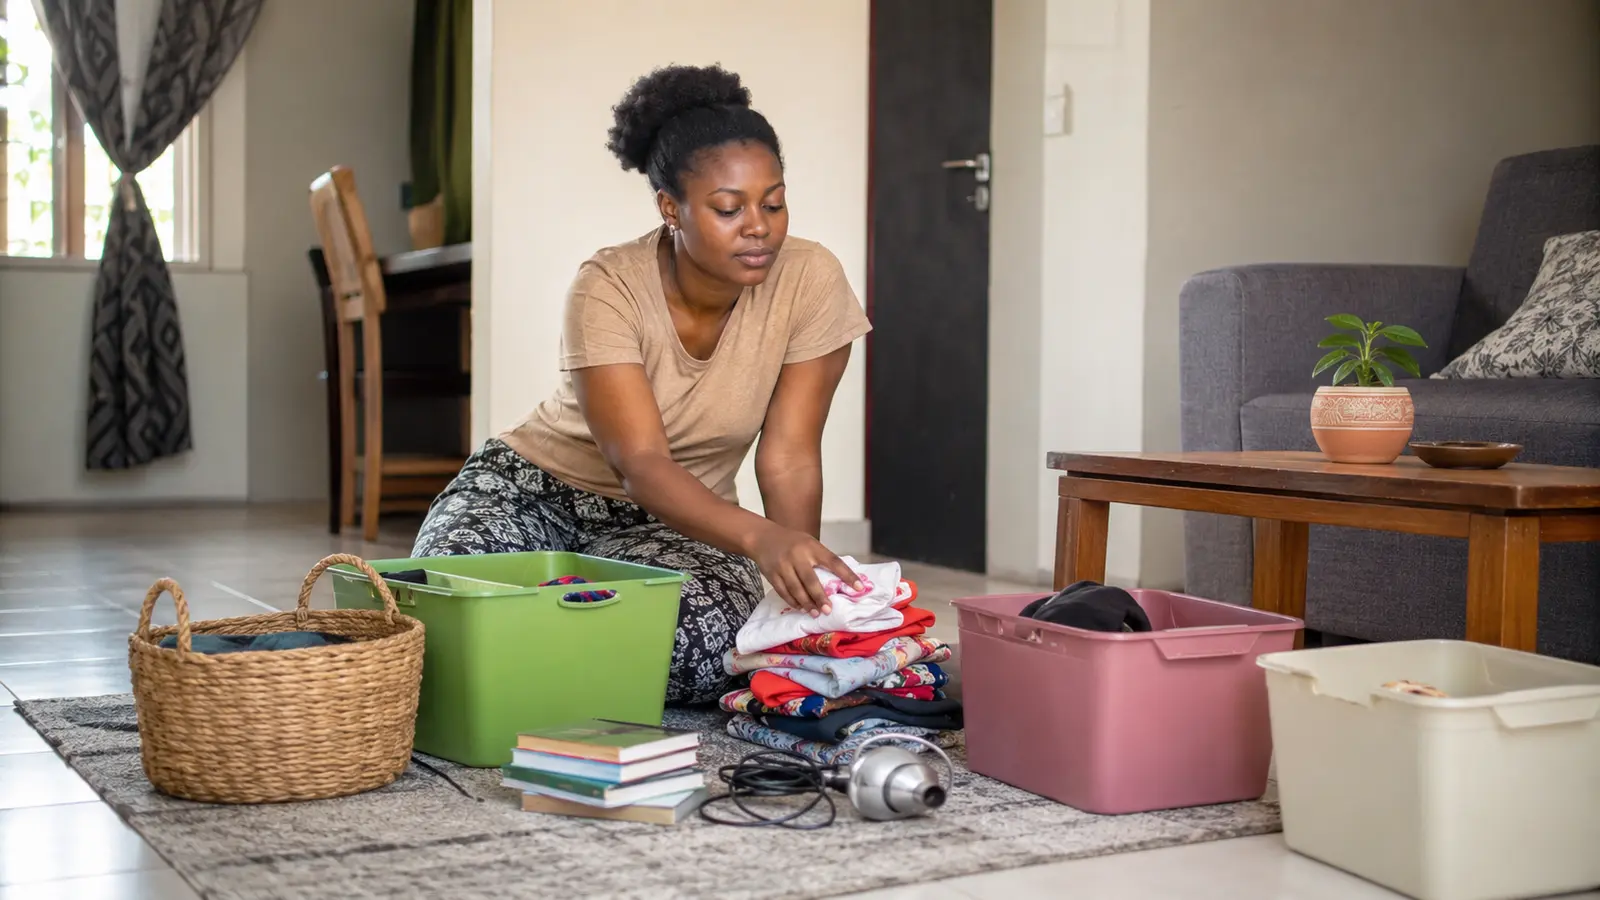
Table of contents
What is the simplest way to organize a whole home?
Use this order: choose one small zone → remove obvious rubbish and misplaced items → decide what stays → assign each kept item a home near its use → measure → add the minimum storage → schedule a short reset. Do not purchase containers for unsorted possessions. Reduce and reuse before recycling whenever practical, and maintain clear, safe walking routes.
Declutter without turning the home upside down
Choose an area that can be finished in 20–40 minutes: one drawer, one shelf, the top of a table or the shoes beside the door. Prepare four destinations—keep here, move elsewhere, donate or give away, and repair or recycle. Rubbish is separate. Handle each object once and make a decision based on current use, condition and available space, not the price it once cost.
Finish the zone completely before opening another. Take items to their destination, wipe the surface and photograph the result. That photograph is a practical reset reference, not a standard of perfection. If sentimental objects or shared property cause conflict, pause them in a clearly dated decision box and agree when the household will review it together. Organization should not become permission to discard another person’s belongings.
Five rules that make organization last
1Define the home before buying the container
A storage location is successful when the item is easy to put away at the moment it is used. Measure the available height, width and depth, including hinges, pipes and door swing. Then choose a container with spare capacity and a shape that can be lifted safely. A beautiful basket on the other side of the house will not solve keys dropped beside the entrance.
2Keep frequently used items easiest to reach
Everyday objects belong between comfortable knee and shoulder height when possible. Store occasional, light items higher and heavy items lower. Avoid deep stacks that require removing five things to reach one. Open-front bins, shallow drawers and shelf risers can make the back visible. Accessibility may require different reach zones, larger handles or visual contrast; design around the user rather than a standard cabinet photograph.
3Give each category a capacity limit
A shelf, drawer or basket is a physical boundary. When it is full, review the category before expanding it. Keep the best-fitting or most-used versions and release duplicates that remain in good condition. Capacity limits are kinder than repeatedly moving overflow around the home. Leave enough empty space to put items away without compressing, balancing or forcing a door shut.
4Create visible temporary states
Not everything can be resolved immediately. Use one place for items awaiting repair, one for returns and one for donations, each with a review date. Temporary zones prevent half-finished decisions spreading across every surface. Keep receipts or parts with the object. If a return deadline or repair estimate passes, make the next decision instead of allowing the box to become permanent storage.
5Stop inflow with a 48-hour purchasing pause
For non-essential household items, save the product and wait. During the pause, name the exact problem, check whether something already solves it, measure the destination and calculate the full cost. This is especially useful for organizer products: a new rack can consume more space than it creates. Replace “Where could this fit?” with “Which current item will it replace?”
Five ideas for the entry and daily arrivals
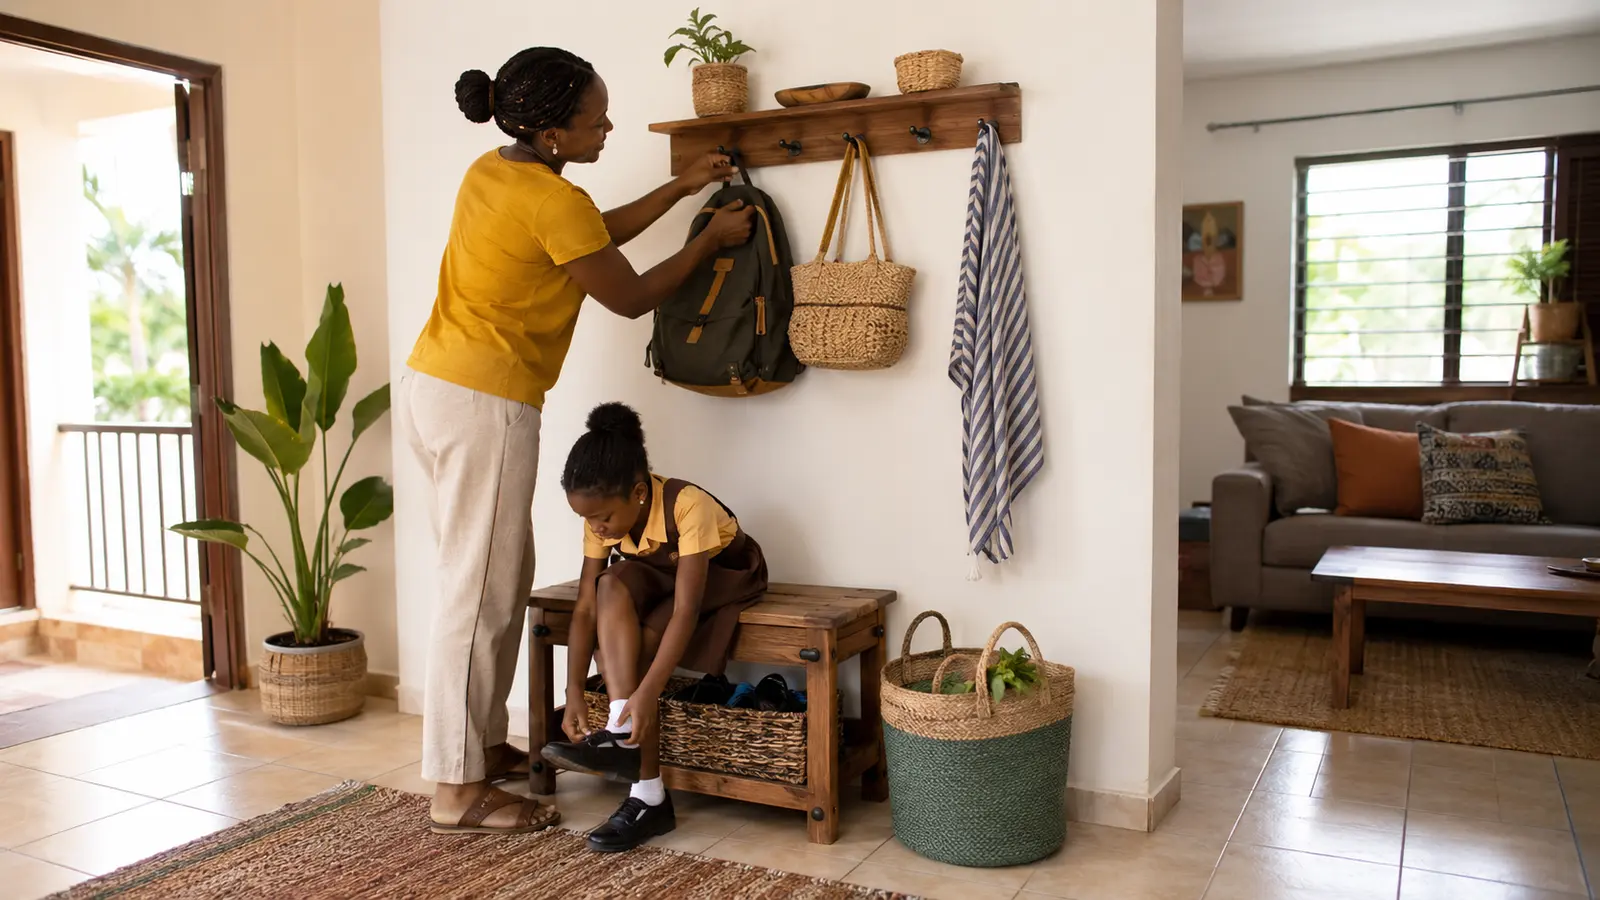
6Build a landing zone at the door people use
Provide a small tray for keys, reachable hooks for daily bags and a stable place for shoes. Use the actual entrance, even if another doorway looks more formal. Keep the zone narrow enough that it cannot grow into general storage and preserve the walking path. A mirror can support last-minute checks, but mount or position it safely and avoid reflecting private areas toward an open door.
7Limit active footwear
Keep only frequently worn pairs near the door and move occasion or seasonal shoes to protected storage. Use a washable tray in wet weather and allow damp shoes to dry before closing them inside a cabinet. A bench helps with dressing when it is stable, appropriately sized and does not narrow the route. Repair loose soles before they become a trip hazard.
8Give each person one hook or basket
Assign a reachable position for a current bag, hat or school item. Young children need lower hooks; adults should not have to crouch into a pile. Keep heavy backpacks supported rather than suspended from weak adhesive fittings. A person’s zone can be identified by position or color without creating many small labels. Review it weekly so yesterday’s paper does not bury tomorrow’s essentials.
9Process paper at the boundary
Open mail near a recycling bin and place documents requiring action in one shallow tray. File only records that have an ongoing legal, tax, warranty or personal purpose, following local requirements. Photograph or scan useful information when a digital copy is sufficient, then name it consistently and back it up. Do not keep sensitive personal data in an open entrance basket.
10Run a five-minute evening reset
Return keys, charge the essential device, remove rubbish, set out tomorrow’s bag and move donations toward the exit. The reset should be short enough to repeat when tired. If it regularly takes 20 minutes, the entry contains too much or the storage is too difficult to use. Change the system rather than blaming the household.
Five kitchen organization ideas that reduce waste
11Organize by task, not product packaging
Create zones for preparing drinks, cooking, baking, packing meals and cleaning. Keep tools close to the surface where the task occurs, subject to child safety and heat. A tray can hold the daily drink supplies and move for cleaning. Rare specialty equipment should not occupy the most reachable cabinet while the everyday pot lives behind it.
12Make existing food visible
Group similar pantry foods and place opened packages or shorter-dated items at the front. Use clear containers only where they genuinely improve protection and visibility; transferring everything can add cost and remove cooking instructions or expiry information. Write the product and date on any unmarked container. Keep food off damp floors and inspect signs of pests rather than sealing evidence inside decorative boxes.
13Create an “eat next” refrigerator zone
Use one visible shelf or bin for safe leftovers and ingredients approaching their use date. Plan the next meal from that zone before shopping. Cool, cover and store food according to food-safety guidance; an organizer does not extend its safe life. A weekly inventory on the refrigerator door or phone can prevent duplicate purchases, but keep it simple enough to update.
14Use vertical dividers for flat equipment
Store trays, boards and pan lids upright when cabinet construction and weight allow. Each item becomes visible without lifting a stack. Secure dividers so they cannot collapse and keep sharp edges protected. Deep drawers can use smaller boxes to separate tools, but leave room for hands to lift them. Measure handles and hinges before purchasing an insert.
15Keep only working countertop appliances out
An appliance deserves permanent counter space when it is used frequently, has safe ventilation and can reach an outlet without an extension lead. Clean and store occasional equipment with all parts together. If a broken appliance awaits repair, set a decision date. The FrediTech smart-kitchen guide explains how to choose appliances and automation by task rather than novelty.
Five ideas for bedrooms, wardrobes and laundry
16Arrange clothing by current frequency
Put current, well-fitting daily clothes in the easiest section and group them by type or complete outfit—whichever shortens mornings. Move special-occasion and off-season items higher or farther away. Repair missing buttons and small tears promptly, then donate suitable items that no longer serve. Avoid compressing clothing so tightly that nothing is visible or ventilated.
17Use under-bed storage carefully
Low containers can hold light seasonal textiles in a dry room, but they should slide without scratching the floor or requiring a dangerous lift. Do not block airflow, exits or access to electrical equipment. Check periodically for moisture and pests. If reaching under the bed is difficult, use another location rather than creating inaccessible storage that is forgotten.
18Keep the bedside table deliberately small
Reserve the surface for a reachable lamp, glasses, water and any essential item appropriate to the user. Route charging cables so they cannot fall across the floor and keep hot or damaged adapters away from bedding. Move books and cosmetics to a nearby shelf or drawer. A clear bedside area is easier to navigate in low light and makes a simple smart-bedroom routine more useful.
19Design the laundry route from dirty to ready
Place a breathable hamper where clothes are actually removed, then provide a clear surface or basket for clean items awaiting folding. Separate only categories that receive a different wash; too many hampers create work. Keep stain treatment and detergents safely stored with instructions. A short folding session attached to an existing routine is more dependable than a large weekly pile.
20Rotate seasonal textiles as a complete kit
Store the matching sheet, pillowcases and cover together in a breathable bag or one pillowcase. Clean and dry everything completely first. Note the bed size and inspect for damage before storage. When the season changes, the whole set moves at once, reducing loose pieces. Avoid scented moth products or chemicals unless they are appropriate and used exactly as directed.
Five safety and maintenance systems to complete the home
26Anchor tall and climbable furniture
The CPSC recommends anchoring furniture with drawers, doors and shelves to prevent tip-overs. Use hardware suited to the wall, keep heavier items low and avoid placing tempting objects high where children may climb. Organization must not trade visible clutter for an unstable, overloaded cabinet.
27Keep exits, floors and controls clear
Do not store boxes in doorways, on stairs or in front of electrical panels, valves, windows used for escape or safety equipment. Secure or remove loose rugs and route cables away from feet. Night routes need adequate light. The National Institute on Aging’s room-by-room safety advice emphasizes good lighting and removing trip hazards—principles that benefit every age.
28Create a small home-maintenance station
Store spare filters, approved batteries, furniture instructions, paint details and a basic tool kit in one dry, secure place. Keep chemicals and sharp tools separately controlled. Use a simple calendar for recurring tests and replacements. Buying the right replacement becomes easier when the model number and receipt are saved with the maintenance record.
29Give donations and repairs a real exit
Choose one container with a fixed collection or delivery date. Confirm the receiving organization accepts the items and give only clean, safe, useful goods. Pair repairs with a quote or scheduled work session. The EPA waste hierarchy prioritizes reducing and reusing before recycling; keeping an unwanted item indefinitely, however, does not create reuse until it reaches someone who needs it.
30Run a ten-minute weekly reset
Walk from entrance to kitchen, shared room, bathroom and bedroom. Return misplaced items, empty the action tray, move donations, check food to use next and note one repair. Stop when the timer ends. A sustainable system should recover from a busy week without requiring an entire weekend. If one zone repeatedly fails, reduce its contents or make the storage easier.
A realistic four-week organization plan
| Week | Focus | Finish line |
|---|---|---|
| 1 | Entry, one daily surface and visible floor hazards | Arrivals have homes and the main route is clear |
| 2 | Food visibility, countertop appliances and cleaning supplies | The next meal starts with what you own |
| 3 | Wardrobe, bedside area and laundry route | Daily clothing and sleep surfaces reset easily |
| 4 | Papers, cables, donations, repairs and maintenance | Temporary items have deadlines and an exit |
Frequently asked questions
Which room should I organize first?
Start with a small, high-frequency zone that creates daily frustration, such as the entry, one kitchen counter or the bedside table. A complete visible win teaches you what storage behavior works before you attempt a wardrobe or whole room.
Should I buy storage boxes before decluttering?
No. Decide what belongs in the space, measure it and then buy only the container needed. Existing trays, jars or boxes may work during the test period. Containers purchased too early often preserve excess volume and create another category of clutter.
How do I keep clutter from returning?
Control incoming purchases, give each category a capacity, place storage near use and schedule a short reset. Notice repeat offenders. If an item never returns to its home, change that home or decide whether the object still deserves space.
How can a family organize without arguments?
Agree on shared safety and cleaning goals, then let each person make decisions about their own belongings. Test common zones for a week and adjust reach, labels or capacity together. Do not discard another person’s possessions without consent.
What should I do with old electronics and batteries?
Remove personal information, sign out of accounts and use a recognized local electronics or battery collection route. Lithium-ion batteries and devices containing them should not enter ordinary rubbish or mixed recycling. Tape exposed terminals or bag batteries when local guidance recommends it.
Research sources and methodology
This guide applies source-reduction, reuse and home-safety guidance to everyday storage systems. Recommendations were screened for accessibility, low cost, safety, reset time and waste prevention. Local rules determine document retention, donation acceptance, medicine disposal and recycling.